James Hardie Junior ADU Conversion: The Santa Clarita Owner’s Guide
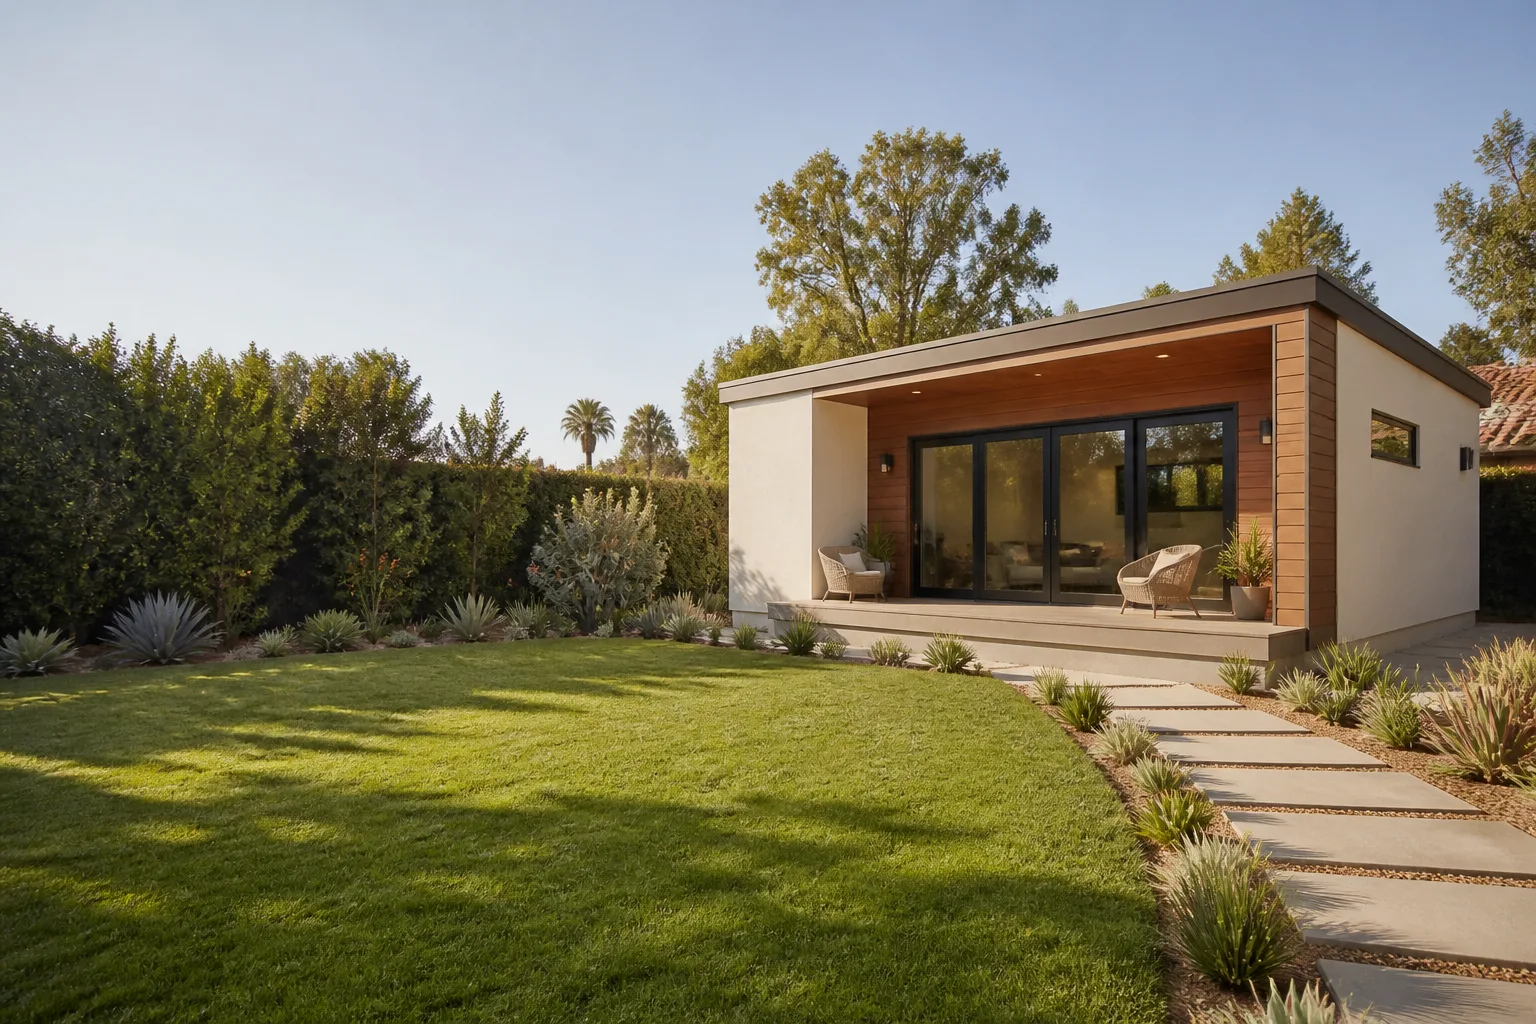
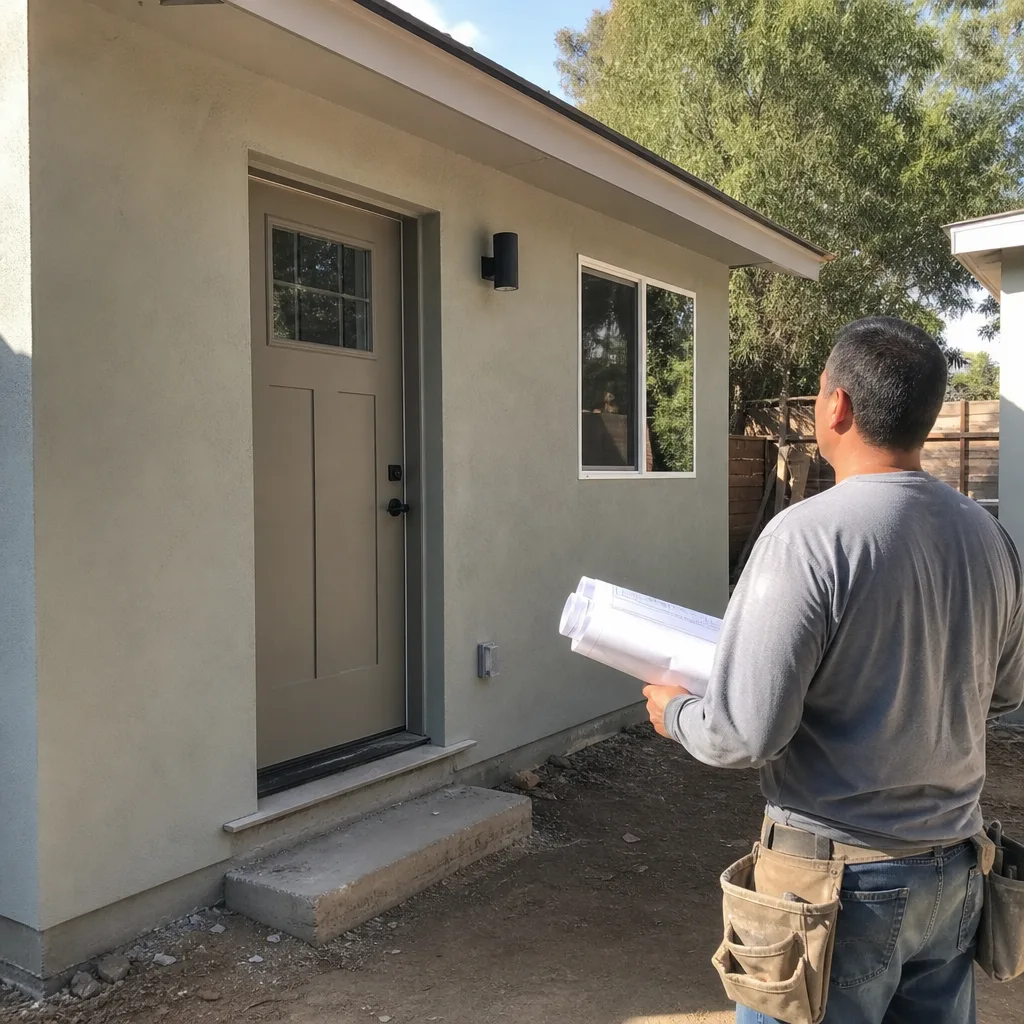
A James Hardie Junior ADU conversion in Santa Clarita typically runs between $95,000 and $165,000 when converting an attached garage or unfinished space, with the Hardie cladding and trim package accounting for roughly $8,000 to $14,000 of that total depending on square footage. We stock James Hardie plank, panel, and trim components on our trucks for conversion work across Santa Clarita, and we can usually match existing Hardie product within one to two days if it’s not already on hand. Most homeowners discover they need Hardie-specific work when existing siding meets the new ADU wall line, or when the original Hardie installation shows cracking, warping, or separation at the seams during the conversion’s framing inspection.
Key takeaways:
- Junior ADU conversions in Santa Clarita must comply with California’s 500-square-foot maximum for JADUs, and the existing Hardie siding on the primary structure often needs to be matched where the two building envelopes meet.
- HardiePlank lap siding has a 50-year limited warranty when properly installed, but improper nailing or missing flashing during the original build will show failure within 5 to 10 years in Santa Clarita’s heat-and-dry climate.
- You’ll get a written price before we start, and our 365-Day Done Right Promise covers every conversion we complete.
Which James Hardie Models This Applies To
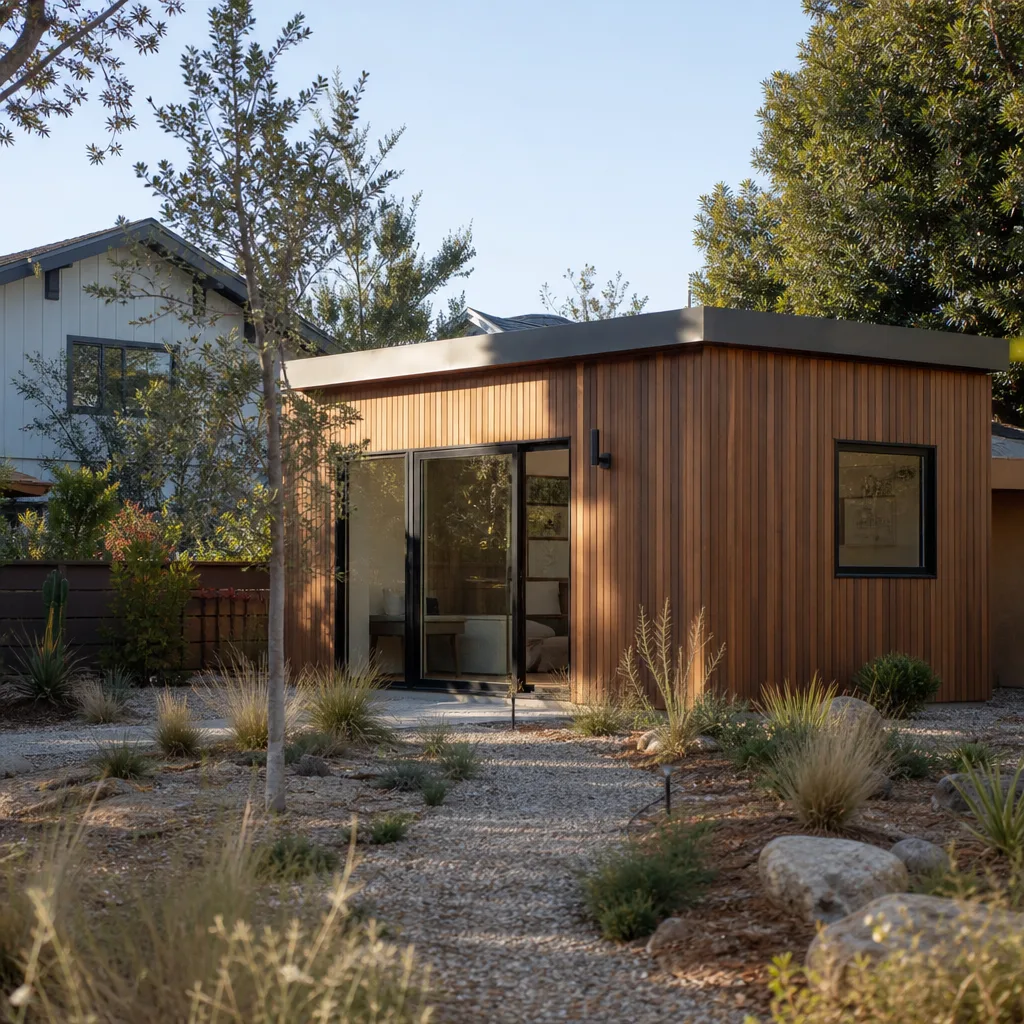
For Junior ADU conversions, the Hardie products that matter most are HardiePlank lap siding (5/16-inch thick, available in 4-inch, 5-inch, and 7-inch exposures), HardiePanel vertical siding (4×8, 4×9, and 4×10 sheets), and the HardieTrim boards used at corners, windows, and door openings. If your home was built with HardiePlank in a 5-inch exposure and you’re extending that wall line for the JADU, you need 5-inch exposure HardiePlank to match, and it needs to come from the same product generation. James Hardie changed their plank texture slightly around 2017, and the older “Select Cedarmill” finish doesn’t match the current “Cedarmill” texture perfectly up close.
Where things get tricky: the original Hardie color. Hardie’s baked-on ColorPlus finish fades slightly over a decade of Santa Clarita sun, so a brand-new board in the same factory color will look fresher than the existing wall. We handle this by ordering unprimed or primed-only Hardie and painting the entire wall section after installation, which gives you a uniform finish rather than a patchy color match. Benson ADU Santa Clarita is an independent contractor and not affiliated with James Hardie, but we’ve built enough Hardie-clad ADUs and additions across Santa Clarita to know which generations of product match and which don’t.
Signs Your James Hardie Junior ADU Conversion Is Failing
- Cracking or chipping at nail heads along the bottom edge of planks. Hardie is cement-based and brittle. Overdriven nails or nails placed too close to the plank edge will cause the board to crack at the fastener, and once water gets in behind the plank, the damage accelerates year over year.
- Gaps opening at butt joints between planks. Hardie expands and contracts with temperature swings. If the original installer butted planks tight without leaving the required 1/8-inch gap and flashing the joint, you’ll see separation at seams within a few seasons of Santa Clarita’s 100-degree summers and near-freezing winter nights.
- Wicking or swelling at the bottom course where siding meets concrete. Hardie requires a minimum 6-inch clearance above grade and a drip edge at the foundation line. When it sits too low against a patio slab or walkway, it soaks up moisture and starts to delaminate.
- Caulk failing around window and door trim on the existing structure where the JADU ties in. This is the most common spot for water intrusion in a conversion, and it’s almost always a flashing detail that got skipped, not a Hardie product defect.
- Faded or chalky ColorPlus finish with visible raw fiber cement at cut edges. Unpainted cut ends absorb water. If the original builder didn’t paint or seal every field cut, those raw edges will start to swell and crumble within a few years.
Replacement Cost & What’s Included
Here’s what you’re looking at for Hardie-specific work during a Junior ADU conversion in Santa Clarita, installed by our crew:
- Match-existing HardiePlank lap siding (partial wall, 200-400 sq ft): $3,200 to $6,800 installed
- Full HardiePanel vertical siding for the new JADU exterior: $4,500 to $8,500 installed
- HardieTrim boards at corners, windows, and doors: $1,200 to $2,800 installed
- Flashing, moisture barrier, and sealant remediation at the tie-in wall: $1,800 to $4,200
- Repaint entire affected wall section after replacement: $900 to $2,200
The range depends on wall height, how much of the existing Hardie is salvageable, and whether we’re working on the primary structure’s wall or the new JADU enclosure. Every quote is written, line-itemed, and fixed before we start. No change orders unless you ask for something different. The 365-Day Done Right Promise covers our installation work, meaning if anything we installed fails within a full year, we come back and fix it on our dime.
DIY or Call Us?
Hardie plank and panel work is lower risk than garage door springs or electrical, but it still deserves caution: the dust is silica-based and requires a respirator, the boards are heavy and snap cleanly when mishandled, and a bad flashing detail will quietly rot the framing behind your new JADU for years before you see it. If you’re evaluating an existing wall for failure, you can safely check for visible cracks, measure your plank exposure, and snap a photo of the Hardie printing on the back of a loose plank. What you shouldn’t do is pull planks off the wall to “take a look.” Once the weather barrier behind the siding is disturbed, it has to be re-lapped and re-flashed correctly or you’ll create a leak where there wasn’t one.
If the work is a full wall or a tie-in between structures, call Benson ADU Santa Clarita at (661) 219-7906. We’ll put a written price in front of you before any work starts.
FAQs
Properly installed HardiePlank with painted field cuts and correct flashing will last 40 to 50 years in Santa Clarita’s climate before replacement is needed. The failure points are almost always installation errors, not product breakdown.
Yes, for isolated damage like a cracked plank or a failed butt joint, we can remove and replace individual planks without touching the rest of the wall. The catch is color matching. If your siding was painted after installation, we can match it close. If it’s factory ColorPlus finish that has faded, we recommend repainting the entire wall section. Call (661) 219-7906 and Troy can tell you straight which path makes sense.
For a typical tie-in wall and new JADU exterior, the siding and trim work runs three to five working days. Weather delays happen in Santa Clarita’s winter rain window, but the schedule is in the written quote and we update you with photos and real-time tracking as the work progresses.
We keep common HardiePlank exposures, HardiePanel sheets, HardieTrim, flashing, and sealants stocked for Santa Clarita jobs. If you need a specific ColorPlus finish or an uncommon exposure, we special-order it and it typically arrives within two to four business days.
A garage-to-JADU or attached-space conversion in Santa Clarita with Hardie cladding runs between $95,000 and $165,000 depending on square footage, foundation work, plumbing and electrical scope, and finish level. Price it in writing before you commit, and never sign a contract that leaves room for a vague “allowance.” Call (661) 219-7906 for a free estimate. Price it in writing, build it right, no surprises, that’s the whole job.
Written by Troy Eastman, Owner & Lead Builder, Benson ADU Santa Clarita at Benson ADU Santa Clarita, serving Santa Clarita and nearby areas.